
How to Convert a Kodiak 100 from Cargo to Passenger Configuration in Under 15 Minutes
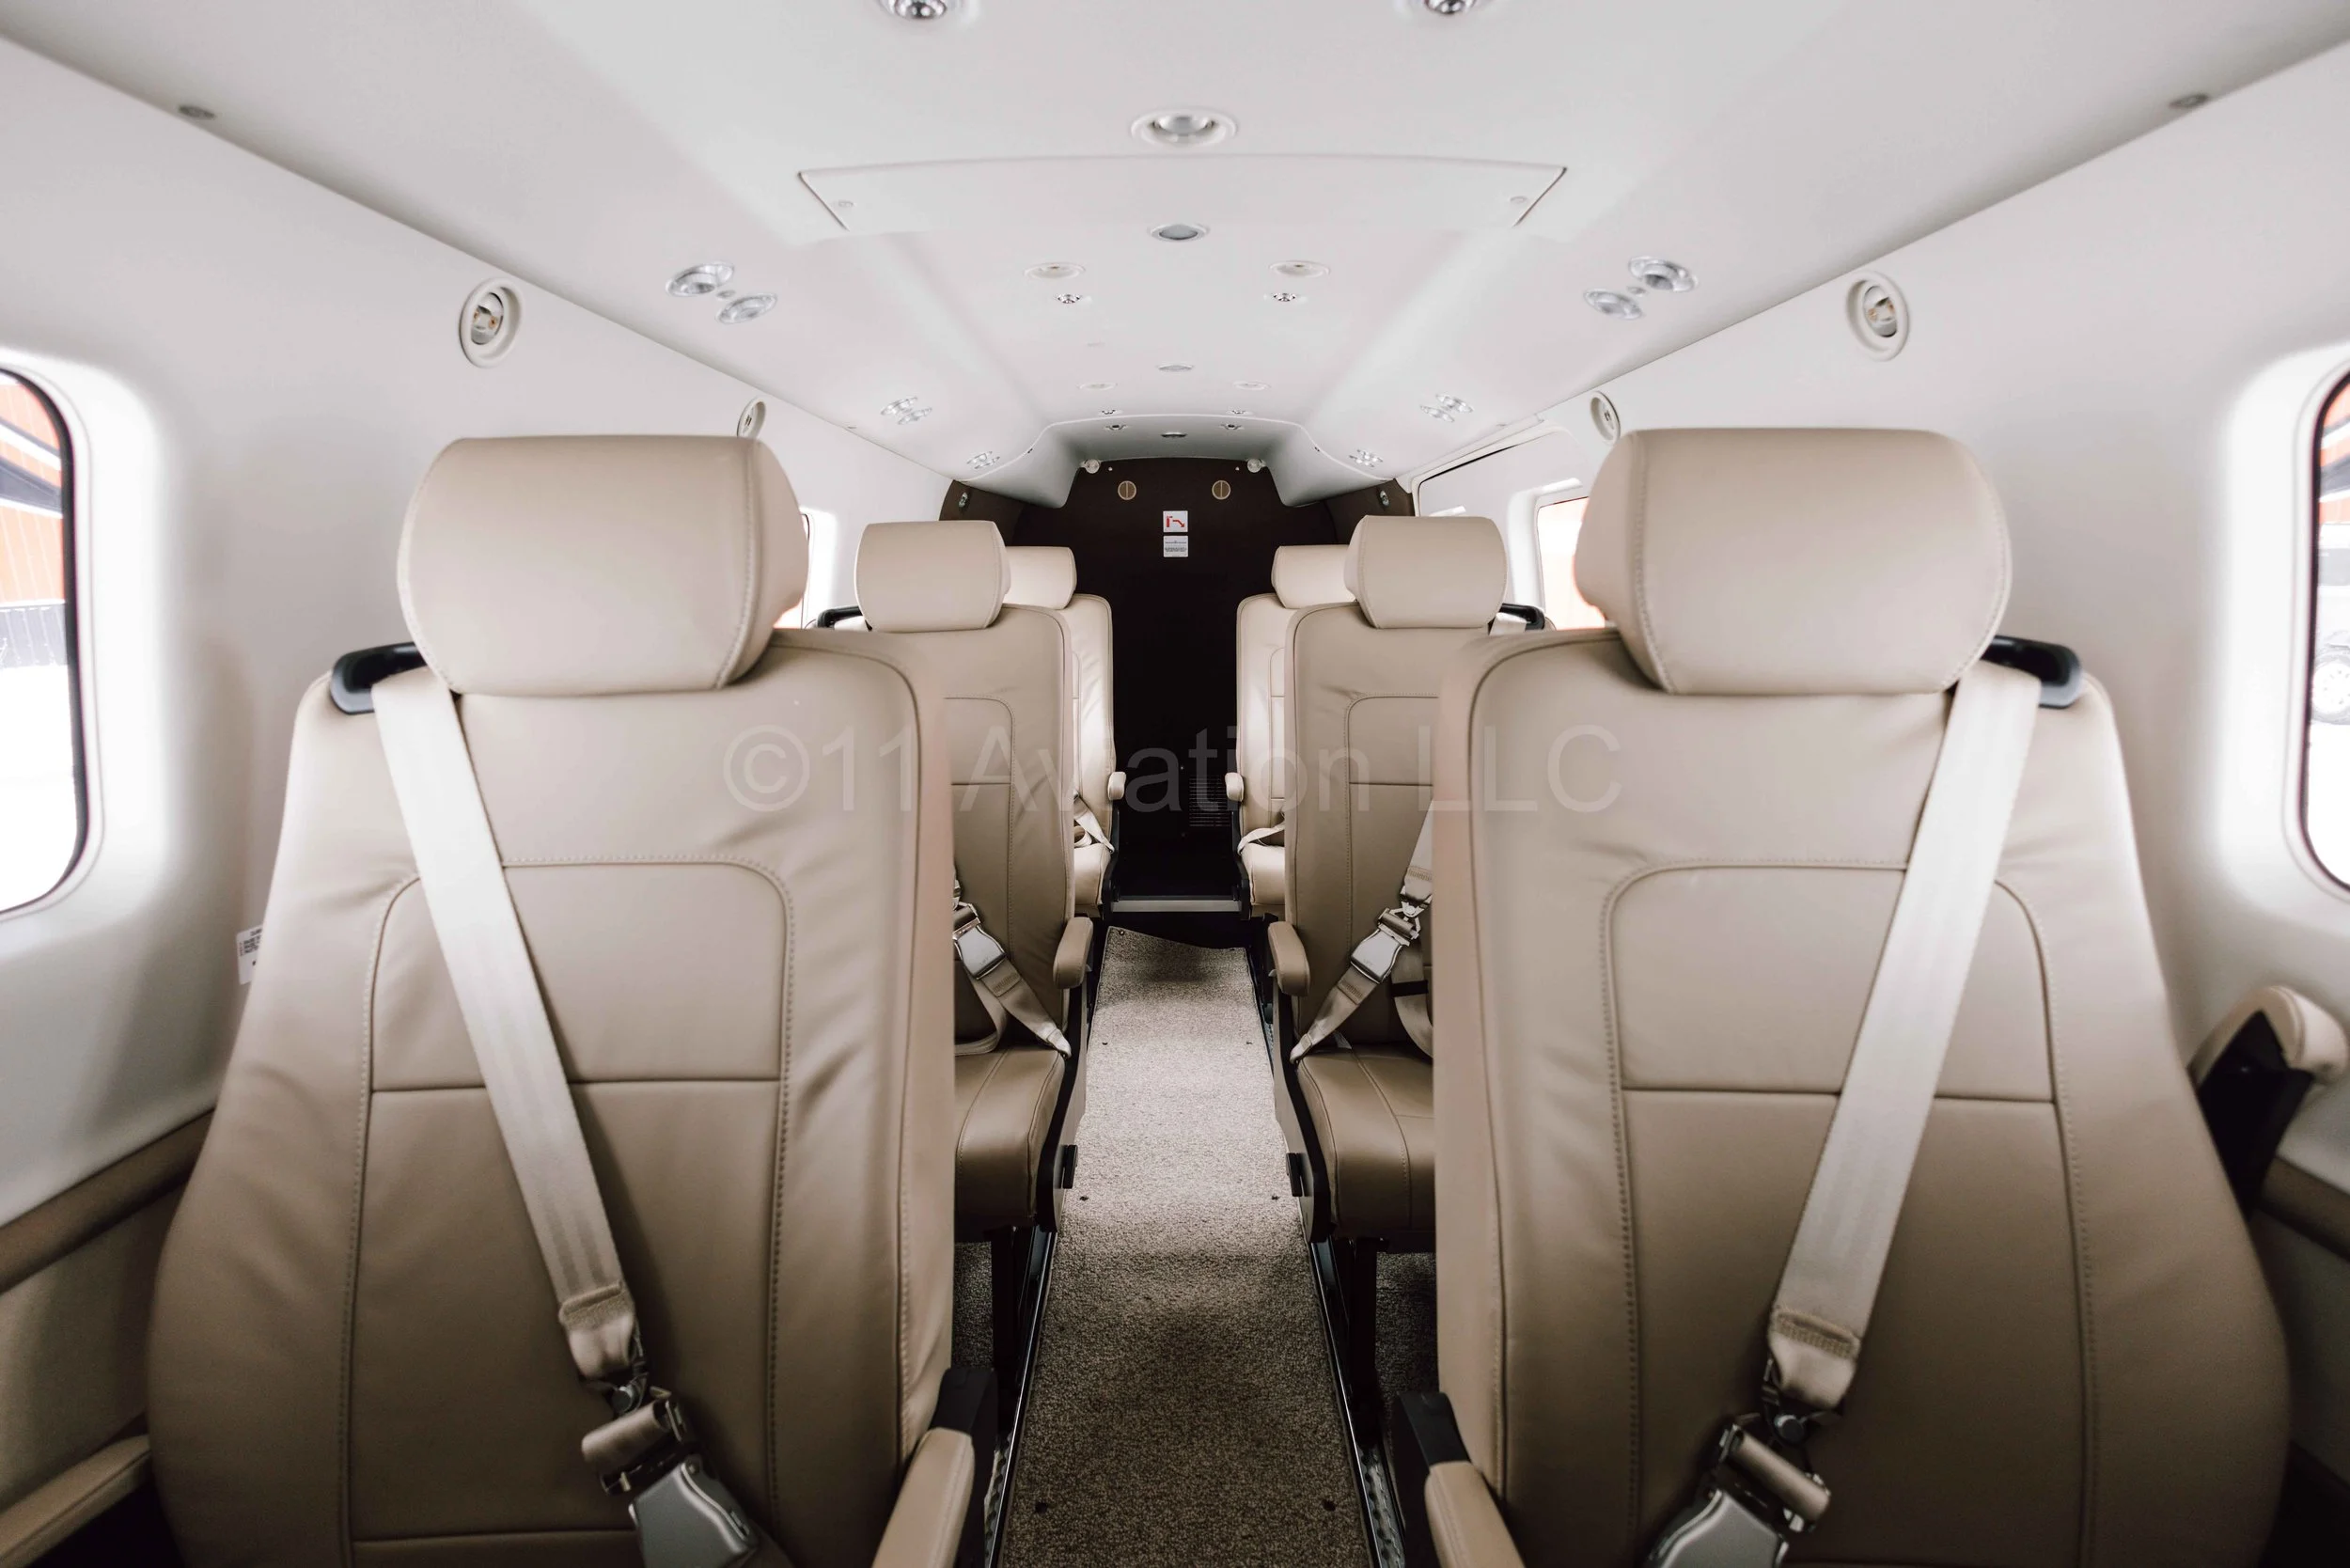
One of the most underrated qualities of the Kodiak 100 is just how quickly you can transform it. Cargo hauler one day, passenger-ready the next — and we're talking a full interior conversion in 10 to 15 minutes. If you've never seen it done, it might sound too good to be true. But that's exactly what makes this airplane so special.
In this walkthrough, we're going to take you through a full cargo-to-passenger conversion: carpet reinstallation and Summit Plus seat installation, start to finish.
Step 1: Rolling Out the Carpet
The Kodiak 100's carpet system is one of those small design details that makes a big difference in real-world operations. It buttons in and buttons out — no tools, no hassle. Underneath sits a non-stick coin dot floor that's easy to clean and practically indestructible, which is exactly what you want when you're hauling gear, dogs, or anything else that doesn't care about your interior.
We're working with an owner based in upstate New York. Smart guy — every winter, when boots are caked with salt and slush, he pulls the carpet out and rolls it up in a storage container. Keeps it pristine all season. Come spring, back in it goes.
That's exactly what we're doing here. You literally unroll the carpet and button it back into place. Start to finish: five to ten minutes. And beyond just looking better, the carpet actually adds meaningful sound dampening — it's a noticeably quieter cabin, which passengers will appreciate on a two-hour flight.
Step 2: Understanding the Summit Plus Seat
Before we get into installation, it's worth understanding why the Summit Plus is the best seat option for the Kodiak 100.
It's the only non-directional approved seat in the aircraft. That single feature sets it apart from everything else. You can install it forward-facing, aft-facing, in club configuration, all-forward, or any combination you want. That flexibility is everything when you're configuring around payload and passenger preferences.
Beyond that, here's what you're getting:
Reclining function for passenger comfort on longer legs
Car-style seatbelt with a shoulder harness that disconnects and stows — passengers can use lap belt only or full shoulder harness
Quick-disconnect design using the same tab system airline passengers already know — no learning curve for your pax
Dual armrests on both sides
Side bolstering and headrest for real comfort at altitude
Lightweight construction — because in aviation, every pound is a decision, and these seats don't sacrifice comfort to achieve it
And critically: no tools required. Everything comes in and out by hand.
Step 3: Installing the Seats — Safety First
After nearly 10 years as a test pilot with the Kodiak OEM and over 8,500 hours in type, passenger egress is always top of mind when I'm setting up an interior. It's not just about crash loads — it's about making sure that in an off-normal situation, a passenger can get out of their seat, clear the aisle, and reach an exit as fast as possible.
One thing people overlook: seatbelts. When a passenger jumps up and releases their belt quickly, that hardware can dangle into the aisle. It's a trip hazard and a snag point — exactly what you don't want during an emergency exit. Simple fix: position the seat so the belt hardware hangs toward the sidewall, not the aisle. In this case, that means going against the pilot-side wall.
Small detail. Big difference.
Step 4: Sliding the Seat Into Place
Here's where the Kodiak's seat track design earns its keep. The tracks run from just behind the pilot seats all the way back to the baggage step. That means you can drop a seat in anywhere along that run and slide it forward or aft to your desired position — no repositioning the whole airplane around your installation point.
Drop the seat feet into the track, find the holes, and slide it to position. Then it's just two quarter-turn fasteners — one on each side — and the seat is locked in. That's it. The whole thing takes under a minute per seat once you know what you're doing.
Pro tip: Pull all the seats before you lay the carpet. Trying to roll carpet under installed seats is a headache you don't need. Clear the cabin, lay the carpet, then drop the seats back in. Much cleaner process.
Don't Forget Weight and Balance
Any time you're moving seats around in the Kodiak, you need to update your weight and balance. With the Kodiak Performance App, it's straightforward — read the number off the seat track, plug it into the app as your new seat station, and you've got an updated W&B in seconds. We'll cover the app in more depth in a separate video, but don't skip this step.
The Bottom Line
The Kodiak 100 is built for versatility, and the Summit Plus seat system leans into that fully. No tools. No special training. No wasted time. Whether you're pulling the interior for a winter work season or reconfiguring for a charter load, you can be fully passenger-ready in the time it takes to preflight.
If you have questions about Kodiak interiors, configurations, or anything else covered here, drop them in the comments. And if you're in the market to buy or sell a single-engine turboprop, reach out to us here — we'd love to help.
— Mark Brown, 11 Aviation